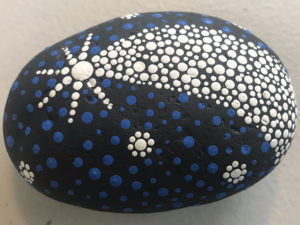
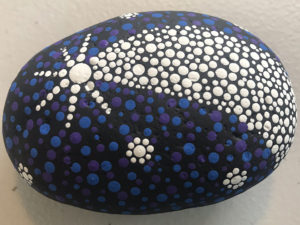
Last week on our PanDeepening blog, I talked about the Kindness Rocks project that is filling our world with color and kindness. You’ve likely seen cute rocks that people are painting and leaving in the community for strangers to find as an act of generosity and kindness. Now I’d like to invite you to paint your own rock!
If you’re willing to take this journey with me, here are the basic steps to creating your own shooting star rock.
First, gather these materials:
- a large stone with a smooth face
- a paintbrush
- a toothpick
- a pencil with a dull tip and a relatively new eraser
- a paper plate to put your paints on
- five colors of acrylic paint: black, white and three shades of blue or purple (If you only have one shade of blue, you can add a little white to make lighter shades. You need about a dime size of black and half that much of the other colors.)
Now you’re ready to paint!
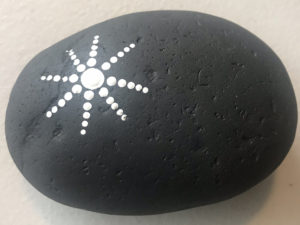
1. Use your paint brush to paint the whole rock black. Once it is dry, use the eraser end of your pencil to make a large dot in white about one-third of the way into your rock. (This is the only step that uses the eraser end of your pencil. Future steps use the pencil tip.)
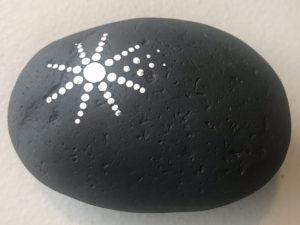
2. Use the tip of your pencil and white paint to make five dots radiating out from your large dot. Tip: Don’t get more paint on your pencil between dots so they naturally get smaller!
3. Repeat step 2 so you have eight lines radiating from your large dot.
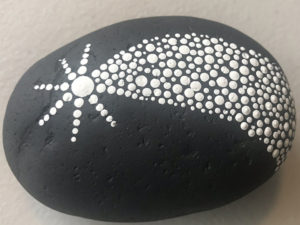
4. To create your star’s shooting stardust, imagine a wedge from your star to the opposite edge of your rock. Then use the tip of your pencil and white paint to scatter dots of different sizes in that space. Remember to only get more paint after every four or five dots so your dots differ in size.
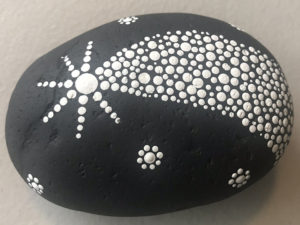
5. Repeat step 4 until the whole wedge of stardust is filled with different-sized white dots.
6. Use the tip of your pencil and white paint to scatter several dots around your rock. Then use your toothpick to surround each of these dots with smaller dots, getting more paint after every dot so they are consistently sized.
7. Use the tip of your pencil and your first shade of blue or purple to fill the rock with different sized dots. Only get more paint after every four of five dots so they differ in size.
8. Repeat step 7 with your remaining shades of blue or purple, being careful not to overlap your dots.
9. Enjoy your completed shooting star rock!
This design was inspired by the book Mandala Stones: 50 Inspirational Designs to Paint by Natasha Alexander. It’s my favorite rock painting book, and I highly recommend it!
—Andi Lewis, Prairiewoods marketing coordinator


